Choosing the right Bicycle Accessories begins with an honest look at how, where, and how often you ride. PeopleForBikes’ 2024 U.S. Bicycling Participation report estimated that 112 million Americans rode a bicycle in 2023. That wide range of riders—from daily commuters to weekend trail cyclists—means no single accessory list suits everyone. A rear light may matter most on a dim commute; a compact repair kit can be more useful on a remote gravel route. Start with your actual rides, not a shopping trend.
Safety deserves particular attention. The U.S. Centers for Disease Control and Prevention reports that bicycle helmets reduce the risk of head injury by about 48%. Fit matters: a helmet should sit level, feel secure, and stay in place when you move your head. Small details count. Then consider visibility, weather protection, storage, and bike compatibility. Check mounting points, tire clearance, and the manufacturer’s load limits before buying bags, racks, or lights. A low-cost item that does not fit can become wasted money—or a distraction.
There is no perfect setup. Even careful lists miss something. My own tendency would be to overpack for a short ride, though extra gear can add weight and clutter. Choose accessories that solve a real problem, and test them on a familiar route before relying on them farther from home. This guide will help you compare practical options, judge quality, and build a setup around your riding habits and budget.
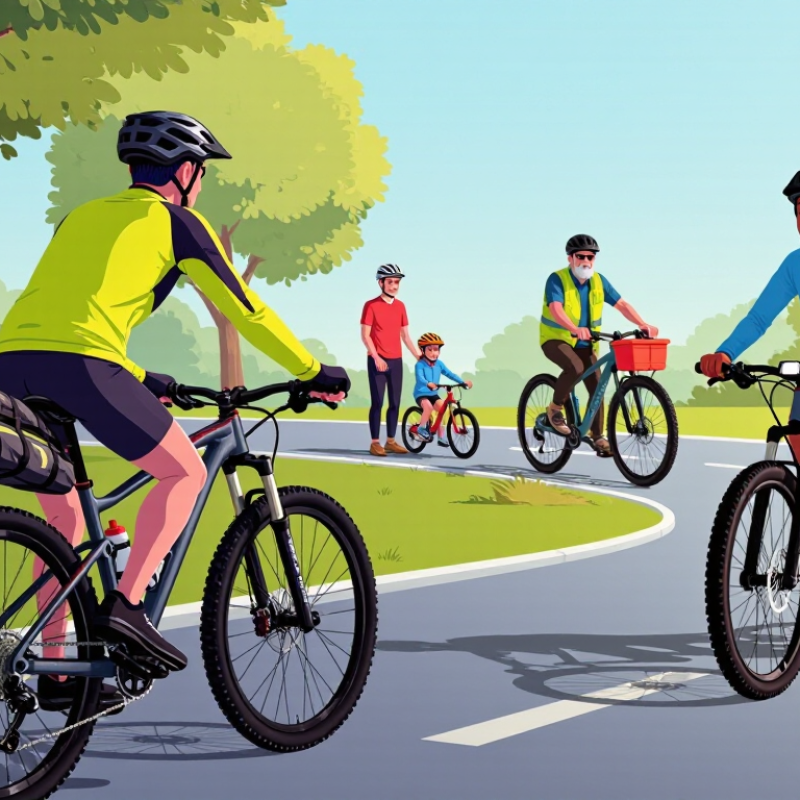
Define your accessories by the ride you actually make, not the ride you imagine. For commuting, choose dependable lights, a bell, a lock, and a weather-resistant bag that keeps a laptop separate from damp clothing. Short trips often need little more. Touring calls for a repair kit, spare tube, pump, and bags that stay stable over rough pavement. Off-road rides benefit from a small first-aid kit, gloves, and a secure way to carry water. Weight matters: a tool you never use can still rattle in your bag all day.
Tips: Lay out your usual ride’s essentials before buying anything. Check that lights are visible from the side, and test bags on a bumpy route. I’d resist buying every “just in case” item; extra gear can become its own nuisance.
Safety deserves space in the decision. NHTSA’s 2022 Traffic Safety Facts reports 1,105 pedalcyclists killed in U.S. traffic crashes. That figure does not prove any accessory prevents a crash, but it is a strong reason to consider visibility and route conditions. Touring riders may want reflective details for dusk, while off-road riders should prioritize secure mounting and easy access. Reassess after a few rides: the best setup is personal, and sometimes the first choice is wrong.
A helmet is useful only when it stays in place. NHTSA materials cite evidence that properly worn bicycle helmets can reduce head-injury risk by about 50%, though results vary across studies and crash types. Treat that figure as a strong reason to wear one, not a guarantee. A helmet cannot prevent every injury.
Check the certification label before buying, then check the fit on your head. The helmet should sit level, low on your forehead, with about two finger-widths above your eyebrows. Tighten the side straps so they meet just below each ear. Buckle the chin strap; you should be able to fit only one or two fingers beneath it. It should not wobble. Walk around and gently shake your head. If the shell shifts, adjust the straps or try another size. Sizing charts can feel oddly optimistic; real head shapes are less tidy.
Replace a helmet after a hard impact, even if the shell looks fine. Internal damage may be hard to see. Also inspect the foam and straps for cracks, compression, or fraying. A certified helmet that fits comfortably is more likely to be worn on ordinary rides, not just long ones. Small details matter. A loose buckle can undo a careful fit, so fasten it before rolling away.
A quiet, tree-lined path needs a different light from an unlit road with fast traffic. For mixed routes, choose a front light with a broad beam and enough output to reveal potholes without dazzling oncoming riders. On well-lit streets, a lower setting may help others notice you while preserving battery life. Check the beam from the saddle, not just against a garage wall. Small difference, big deal.
Runtime matters as much as brightness. Estimate your longest ride, include delays, and leave a reserve; cold weather and high-output settings can shorten usable battery time. The National Highway Traffic Safety Administration’s 2022 Traffic Safety Facts recorded 1,105 pedalcyclist deaths in the United States. That figure does not tell us which light would have prevented a crash, but it supports treating visibility as a real part of route planning. Test your setup on a familiar stretch before relying on it in darkness.
Before buying, check your local transport authority’s rules for lamp color, placement, reflectors, and whether flashing modes are permitted. Requirements can vary by location, and a product listing is not a substitute for current local guidance. Fit a steady rear light where it remains visible beneath a bag or jacket. Then check it from behind. Easy to overlook. My own instinct would be to buy the brightest light, but a controlled beam, reliable runtime, and legal fit are often the more useful combination.
Plan for lights to last longer than your ride, then check the visibility rules where you cycle. The chart shows nighttime bicycle-light visibility distances required in New South Wales, Australia.
How to use this: Choose a runtime that covers your expected route plus a reserve. These figures are specific to New South Wales, not universal requirements; check your local laws before riding. Source: New South Wales Road Rules 2014, rule 259.
A bicycle lock’s Sold Secure grade helps you compare how much resistance it offers under controlled tests. Bronze, Silver, Gold, and Diamond mark rising levels of tested security. Higher grades generally withstand more demanding attack methods, but no lock makes a bicycle impossible to steal. The grade is a useful starting point, not a promise. Check the current rating on the lock’s packaging or product information, since ratings and testing criteria can change.
Match the grade to your bicycle’s value and where you leave it. A basic commuter parked briefly in a busy, visible area may need less protection than an expensive bicycle left outside overnight. For higher-risk stops, consider a Gold- or Diamond-rated lock, if its weight is practical to carry. A heavy lock that stays at home is not much help. I used to focus only on the grade; convenience matters more than I expected.
Tips: Secure the frame and a wheel to a fixed object. Keep the lock clear of the ground, and leave little space inside it. In public, look for good lighting and regular foot traffic. Check whether your chosen grade suits your usual parking habits, not just an occasional ride. A small routine can help. Don’t assume one rating fits every situation.
Compatibility is more than whether an accessory fits. Check your bicycle’s frame, handlebar diameter, and available mounting points before ordering. A rear rack may need threaded eyelets, while a handlebar bag can crowd brake cables or interfere with steering. Measure the space yourself. Product descriptions can leave out small details.
Weight matters, especially on hills or rough roads. Compare the accessory’s weight with its useful capacity, and check the bicycle or rack’s stated load limit. A heavy lock or full pannier can change how the bike handles, particularly when the load sits high or far behind the rear wheel. Keep heavier items low and balanced. I sometimes underestimate a few extra pounds until the first climb.
Think about maintenance before you buy. Fabric bags may need washing and drying; metal fittings can loosen or corrode, especially after wet rides. Lights need regular charging, and their mounts should stay secure over bumps. Ask yourself whether you’ll inspect screws, clean buckles, or carry a small tool. Be realistic. An accessory that is awkward to maintain may spend more time at home than on your bike.
| Accessory | Best for | Compatibility checks | Typical weight | Maintenance | Buying tip |
|---|---|---|---|---|---|
| Front and rear lights | Commuting, low-light riding, and visibility | Check handlebar or seatpost diameter, mounting space, and whether the light can be aimed without being blocked by bags or accessories. | About 50–200 g per light | Recharge or replace batteries; clean lenses and check mounts regularly. | Choose a secure mount and a brightness mode suited to where you ride. |
| Rear rack | Carrying panniers, groceries, or work gear | Confirm frame mounting points, wheel size, brake clearance, and any stated rack load limit. Some frames need a compatible mounting solution. | About 500–1,200 g | Check bolts for tightness and inspect the rack and attachment points for cracks or corrosion. | Match the rack’s load rating to your intended cargo; do not exceed the bicycle’s limits. |
| Mudguards (fenders) | Keeping spray off clothing and the bicycle | Check wheel diameter, tire width, frame and fork clearance, and mounting points. Full-length styles need more clearance than clip-on styles. | About 200–700 g per pair | Remove trapped grit and check fasteners and stays for looseness or damage. | Allow enough clearance for the tire and any mud or debris likely on your route. |
| Bottle cage | Carrying a drink within easy reach | Check for frame bottle-cage bosses and confirm there is room to insert and remove a bottle, especially on small frames. | About 30–100 g | Rinse off dirt and check mounting bolts; clean the cage if it becomes gritty. | Test bottle fit and access before a long ride. |
| Saddle bag | Carrying a spare tube, tire levers, and small tools | Check saddle-rail shape, seatpost space, tire clearance, and whether the attachment system works with your saddle or dropper post. | About 50–200 g, excluding contents | Clean mud from straps or mounts and check that the bag remains secure and does not rub the tire. | Choose enough capacity for essentials without obstructing your legs or rear wheel. |
| Mini pump | Inflating a tire after a roadside puncture | Verify that the pump head works with your valve type and that its bracket fits the frame or bottle-cage mounting points. | About 80–200 g | Keep the pump clean and dry; check the hose, seals, and mounting bracket for wear. | Check the pump’s stated pressure capability and practice using it before you need it. |
| Pedal upgrade | Improving foot grip or using a specific shoe-and-pedal system | Most adult bicycles use 9/16-inch pedal threads, while some smaller bicycles use 1/2-inch threads. Confirm the crank thread and shoe-cleat system. | About 250–450 g per pair | Clean pedals, check for play or rough bearings, and service them according to the manufacturer’s instructions. | If changing pedal type, consider whether your shoes are compatible and whether you are comfortable with the release mechanism. |
| U-lock or folding lock | Securing a bicycle during stops or at work | Check that the lock can fit around your frame and a fixed object at your usual parking locations; confirm any frame mount fits your tubes. | About 700–1,800 g | Keep the locking mechanism clean and dry, and check the key or combination mechanism periodically. | Balance security, carrying weight, and the space available around the objects you need to lock to. |
Weight ranges are approximate and vary by design and size. Always check your bicycle’s manual, accessory fit instructions, and load limits before installation.
Choose a beam that reveals potholes without dazzling oncoming riders. Check it from the saddle.
Not necessarily. A lower setting can work on lit streets and preserve battery life.
Cover your longest ride, possible delays, and a reserve. Cold weather can shorten battery life.
Test them on a familiar dark route. Check the rear light from behind, even with your bag on.
Yes. Check current local guidance for lamp color, placement, reflectors, and flashing modes.
They indicate resistance in controlled tests. Higher grades face tougher tests, but no lock is absolute.
Consider the bicycle’s value and where it stays. Overnight outdoor parking may call for stronger protection.
Attach the frame and a wheel to a fixed object. Keep the lock off the ground and leave little space inside it. I still sometimes forget that last part.
Choosing the right Bicycle Accessories begins with understanding how and where you ride. Commuters may value practical storage and dependable lights, while touring cyclists often need lightweight, durable gear and off-road riders may prioritize protection and secure fit. A properly fitted, certified helmet should be a top priority; safety guidance indicates that helmets can lower the risk of head injury by about 50%.
Choose lights based on your route, visibility conditions, and battery runtime, and check local rules for required lighting. Compare locks by their security ratings, from basic bronze levels to stronger diamond levels, and consider the risk where you park. Before buying any accessory, confirm that it fits your bicycle, suits your carrying needs, and will not add unnecessary weight. Also consider how much cleaning, upkeep, or replacement its parts may require.